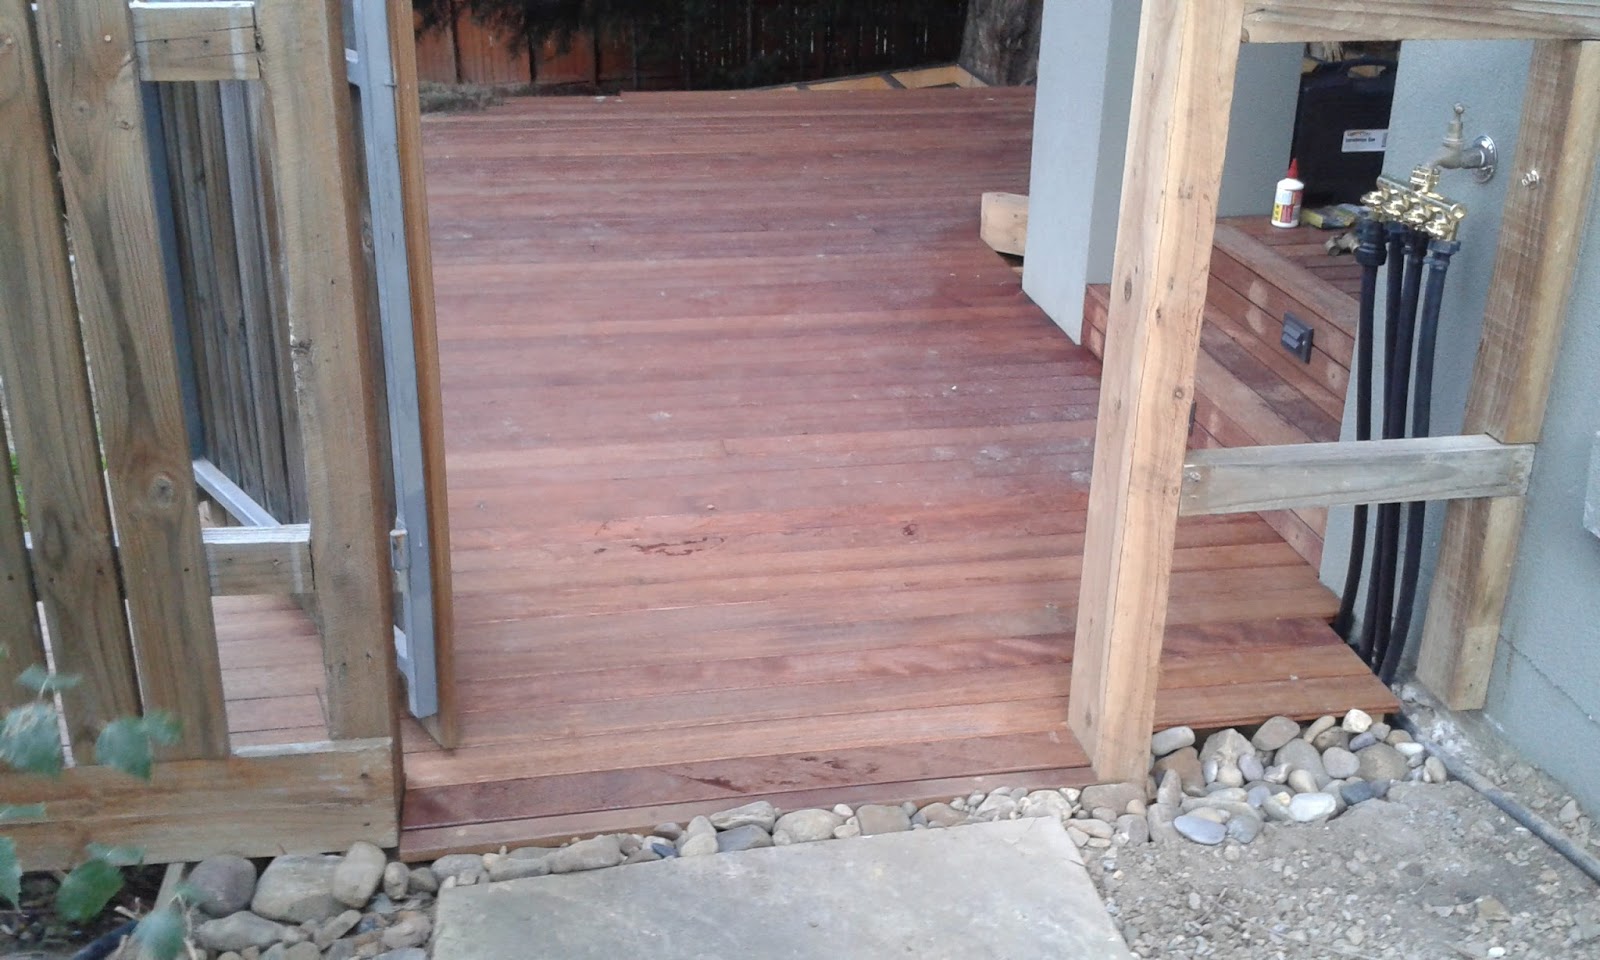
Remember the neighbours trampoline after finishing the deck? Well I love the neighbours kids and all, but them bouncing up and down, and in turn watching us having lunch on the deck (or me trying to sleep!) wasn't the best, so I resolved to have a go at doing something about it.
Like Hadrian in England and the Chinese with the Great Wall, I also chose to build a wall, but in this instance a GREEN one!
So after discussing with the neighbours and getting the OK it was full steam ahead with the green-wall construction project.
Now there's a number of different options available in a wide, wide, range from the really cheap, to the very, very expensive commercial/industrial models. So as always I hit up Google with a few searches on "building a green wall" and "building a vertical garden", from which you'll find lots of options available as well as plenty of DIY information.
You'll find there's a lot of "pot planter" options available on the market which you can pick up from various distributors or even your local hardware supplier. These have the advantage of maximum flexibility. With the area I was dealing with, and the size of the wall I wanted to build, cost was probably going to be an issue though. The whole thing it's 6m long and nearly 3.5m high at the highest point!
So looking further into pot kits I came across the Holman GreenWall. It's a great product with snap in irrigation and pots, that allow you to change the pots (and hence the plants) in and out at will. The limitation for my use is that it only has 8 pots per $69 unit (priced from Bunnings) and to cover the entire wall was going to take quite a few thousand dollars worth of units, not to mention all the plants needed to then fill all those pots!
After further investigation and emailing, I finally settled on a local product that comes courtesy of Australian celebrity gardener Jamie Dury. He has a product called the Greenwall Blanket, and it was going to fit the requirement just nicely, and without breaking the bank.
The blankets come in three sizes; small 600x600, medium 1200x1100, and large at 1800x1800. They're hung up by eyelets built into the fabric, they're rubber backed for waterproofing, and they have an inbuilt drip watering system. Each blanket comes with varying size pockets for planting in, so you can have a variety of plant sizes across the blanket (as opposed to the pot systems where generally they're all the same size).
The area I want the wall to cover is 6m long and runs right along the edge of the fence. One of the things I also want to include in the wall is that it won't be a 100% solid wall (I do actually quite like the neighbours!) so I planned to leave some semi-transparent sections as part of the build.
Here's the plan I came up with:
The wall will be divided into three sections, 2 wide sections on either side, and a narrower one in the middle. These sections will be divided up by four 600 mm wide OutDeco Panels (you may remember I used them when screening the side deck and the garden utility area), using the "Bungalow" pattern, which will give me 80% block out/privacy while still allowing me to still say hi to the neighbours!
For the Greenwall blankets, I will use two large blankets for the left and right outside panels, and two medium blankets mounted vertically for the centre panel. Because the large blankets aren't quite as long as two medium blankets, I plan to fill out the bottom of the large blankets with the Holman Greenwall units, which I'll plant out with seasonal annuals or herbs in the smaller pots, giving me the flexibility to easily change them around. I'll need 3 units each side, 6 in total, which shouldn't break the bank.
So that's the plan, but first things first, is to put 8 posts into the ground to support the wall using 125x75 rough-sawn cypress. There's a 50 cm drop along the fence line, so the last post will be longer than the first.
Above you can see the posts dropped in and concreted with the tops levelled off. Let me tell you it was far from an easy job!
As you might remember there's a significantly large tree in the yard (you can see it in the top photo) and when the neighbours property was completed they put in what is called a "root block". This is essentially a large and deep excavation filled with concrete, designed to stop the roots from the tree entering their property. Well this root block chunk of concrete was sitting pretty much right where I needed to drop the posts in!
It wasn't all bad news though, as there was luckily a 60cm gap between the block and the side fence which was just enough space to drop in the post hole digger with a 50 cm auger attached. JUST enough! Believe me it was a VERY tight fit!
The block trench wasn't in a straight line either, and as I worked my way down the row of holes that 60cm gap got narrower until it was down to under 50cm. At that point there was no choice left but to head down the hire shop to get a large electric jack-hammer to cut into the root block concrete.
Eventually after all screwing around with the post-hole digger, the jackhammer, and after a lot of blood, sweat, and swearing, I ended up with eight 70 cm deep holes and all posts in and set down in concrete. Phew!
Above clearly shows the outline of how the wall will look in terms of cover-up. I levelled off the top of the posts by running a stringline, then constructed a wooden jig to support the circular saw. With the jig fitted to each post I then ran the saw around to make them all nice and even.
Once the posts were finalised I then laid some 70 x 45 horizontal timber battens to brace the structure, and importantly to support the greenwall blankets. I notched in one across the top, and then further horizontal members to line up with the eyelets on the blankets in each of the three sections.
Once the frame was completed, you can see above that I then covered the larger sections in HardieTex blue-board and then fitted in the Outdeco screen panels. Harditex is water and rot resistant, so was going to serve as an excellent backing for the blankets.
You can also see I got busy with a paint tin and brush, painting the entire structure to match the neighbours fence colour which is charcoal black (you can see their fence in the background top right of the photo above). Thinking ahead I'd painted all the posts, railings and the back of the HardieTex before mounting so I didn't need to go next door to paint the fence!
I didn't need to paint the front of the blue board as it was going to have the blankets mounted onto it so I left them blue, but painted around the edge anywhere the board might have been visible under the blanket.
Why is the middle one painted black you may ask? Because I painted it on the wrong side when I was painting them! You'll have to trust me it's black in the other side as well!
So that's the wall structure completed! It's certainly ugly, but just wait until the plants go up!.
Next time we'll mount the blankets and pots, fit the drip watering system, and lastly plant the plants all in part 2!
Like Hadrian in England and the Chinese with the Great Wall, I also chose to build a wall, but in this instance a GREEN one!
So after discussing with the neighbours and getting the OK it was full steam ahead with the green-wall construction project.
 |
| I must do something about the view |
Now there's a number of different options available in a wide, wide, range from the really cheap, to the very, very expensive commercial/industrial models. So as always I hit up Google with a few searches on "building a green wall" and "building a vertical garden", from which you'll find lots of options available as well as plenty of DIY information.
You'll find there's a lot of "pot planter" options available on the market which you can pick up from various distributors or even your local hardware supplier. These have the advantage of maximum flexibility. With the area I was dealing with, and the size of the wall I wanted to build, cost was probably going to be an issue though. The whole thing it's 6m long and nearly 3.5m high at the highest point!
 |
| Holman Greenwall |
After further investigation and emailing, I finally settled on a local product that comes courtesy of Australian celebrity gardener Jamie Dury. He has a product called the Greenwall Blanket, and it was going to fit the requirement just nicely, and without breaking the bank.
The blankets come in three sizes; small 600x600, medium 1200x1100, and large at 1800x1800. They're hung up by eyelets built into the fabric, they're rubber backed for waterproofing, and they have an inbuilt drip watering system. Each blanket comes with varying size pockets for planting in, so you can have a variety of plant sizes across the blanket (as opposed to the pot systems where generally they're all the same size).
The area I want the wall to cover is 6m long and runs right along the edge of the fence. One of the things I also want to include in the wall is that it won't be a 100% solid wall (I do actually quite like the neighbours!) so I planned to leave some semi-transparent sections as part of the build.
Here's the plan I came up with:
 |
| The Green Wall Plan |
The wall will be divided into three sections, 2 wide sections on either side, and a narrower one in the middle. These sections will be divided up by four 600 mm wide OutDeco Panels (you may remember I used them when screening the side deck and the garden utility area), using the "Bungalow" pattern, which will give me 80% block out/privacy while still allowing me to still say hi to the neighbours!
For the Greenwall blankets, I will use two large blankets for the left and right outside panels, and two medium blankets mounted vertically for the centre panel. Because the large blankets aren't quite as long as two medium blankets, I plan to fill out the bottom of the large blankets with the Holman Greenwall units, which I'll plant out with seasonal annuals or herbs in the smaller pots, giving me the flexibility to easily change them around. I'll need 3 units each side, 6 in total, which shouldn't break the bank.
So that's the plan, but first things first, is to put 8 posts into the ground to support the wall using 125x75 rough-sawn cypress. There's a 50 cm drop along the fence line, so the last post will be longer than the first.
 |
| A row of posts to start |
Above you can see the posts dropped in and concreted with the tops levelled off. Let me tell you it was far from an easy job!
As you might remember there's a significantly large tree in the yard (you can see it in the top photo) and when the neighbours property was completed they put in what is called a "root block". This is essentially a large and deep excavation filled with concrete, designed to stop the roots from the tree entering their property. Well this root block chunk of concrete was sitting pretty much right where I needed to drop the posts in!
It wasn't all bad news though, as there was luckily a 60cm gap between the block and the side fence which was just enough space to drop in the post hole digger with a 50 cm auger attached. JUST enough! Believe me it was a VERY tight fit!
The block trench wasn't in a straight line either, and as I worked my way down the row of holes that 60cm gap got narrower until it was down to under 50cm. At that point there was no choice left but to head down the hire shop to get a large electric jack-hammer to cut into the root block concrete.
 |
| This should do the trick nicely |
Eventually after all screwing around with the post-hole digger, the jackhammer, and after a lot of blood, sweat, and swearing, I ended up with eight 70 cm deep holes and all posts in and set down in concrete. Phew!
 |
| I can see it already |
Above clearly shows the outline of how the wall will look in terms of cover-up. I levelled off the top of the posts by running a stringline, then constructed a wooden jig to support the circular saw. With the jig fitted to each post I then ran the saw around to make them all nice and even.
Once the posts were finalised I then laid some 70 x 45 horizontal timber battens to brace the structure, and importantly to support the greenwall blankets. I notched in one across the top, and then further horizontal members to line up with the eyelets on the blankets in each of the three sections.
 |
| Outta sight! |
Once the frame was completed, you can see above that I then covered the larger sections in HardieTex blue-board and then fitted in the Outdeco screen panels. Harditex is water and rot resistant, so was going to serve as an excellent backing for the blankets.
You can also see I got busy with a paint tin and brush, painting the entire structure to match the neighbours fence colour which is charcoal black (you can see their fence in the background top right of the photo above). Thinking ahead I'd painted all the posts, railings and the back of the HardieTex before mounting so I didn't need to go next door to paint the fence!
 |
| That's a tall wall |
I didn't need to paint the front of the blue board as it was going to have the blankets mounted onto it so I left them blue, but painted around the edge anywhere the board might have been visible under the blanket.
Why is the middle one painted black you may ask? Because I painted it on the wrong side when I was painting them! You'll have to trust me it's black in the other side as well!
 |
| Getting ready to mount the planting blankets |
So that's the wall structure completed! It's certainly ugly, but just wait until the plants go up!.
Next time we'll mount the blankets and pots, fit the drip watering system, and lastly plant the plants all in part 2!