Since I starting to lay the boards on the deck I've now completed the landing, completed the steps on the landing, and laid the boards around the curve. Now it's time to bring it all together and take the boards all the way across to the other side and beyond.
First up is to complete the decking all the way around the right hand side (when looking at the original plan) to meet up with the side gate. There was a complication with the side fence however. Whatever the fencing contractor had used to "concrete" in one of the posts wasn't like any concrete I had ever seen. It had set like black glass, leaching into the wood and destroying the bottom of the post. The timber literally turned into dust.
To fix it I had to disassemble the fence, dig out the old post and that "black stuff", and then replace it with a nice new post fixed in with conventional old concrete mix, and then rebuild the fence.
Once that was fixed I finished the deck up to the gate as you can see below.
Now that the right hand side was finished I just trimmed off the end of the deck with a straight edge and circular saw, giving a lovely finished look. There was very little excess to cut off as the Deck Master system lets you pick and choose which timbers you use which minimises waste.
Below is the finished right side of the deck.
With the right edge finished I continued to lay the boards all the way across until I came to the last board for the top of the deck!
Of course the edge of the last board didn't line up perfectly with the end of the joists! I challenge anyone can be that accurate in their planning. All I did was leave some excess joist hanging out which I then cut flush with the edge of the last board using a reciprocating saw. I then cut some front facing joists that connected in on a 90 degree angle to the top joists which will be used later to fix front facing boards to.
To start the last board I began on the left side of the deck near the steps which introduced their own set of complications!
As you can see below I had to put a slight kink in the board to get around the top step because it juts out about an inch from the deck. Nothing some judiciously and carefully cut mitre joins can't fix!
Below is the crowning glory of fitting the very last board to the top of the deck. Now if you remember, the Deck Master timber comes pre grooved, and because I didn't want the grooved edge showing I had to use a standard 90x20 mm decking board. Using a standard board requires slots to be cut along one side of the board using a biscuit cutter, to match up with the Deck Master claws on the inside board, essentially replicating how the grooved timber works.
To fix the outside of the board I used the Deck-Max screws and plugs as I did with the landing steps.
Below shows the last board fixed down! You can also see all the vertical joists that I now have to fix the facing boards onto. This will close up the underneath of the deck.
Below shows all the facing boards fitted, the fixing down the last board! You can see I've left a spot for a small access hatch which I'll knock up later, and this is also where I am putting an all-weather electrical outlet so I won't need to run cords across the deck if I need electricity on the far side.
The photo below shows the same but from the other end before I "release the clamps!". It's a big milestone to fit the very last board!
So here it is below with all the top and facing boards completed. You can see the trail I have worn into the ground walking backward and forward along the front of the deck! Nothing a bit of landscaping mulch can't hide I'm sure.
So the deck top,side and landing steps are done and it really has come up a treat. Exactly as I hoped all those months ago when this kicked off. I guess I'll have to do something about the neighbour's trampoline now!?
All that is left to do now is to lay the boards onto the steps which lead down to the grassed area, and then the job is pretty much finished. More on that next post. Enjoy.
First up is to complete the decking all the way around the right hand side (when looking at the original plan) to meet up with the side gate. There was a complication with the side fence however. Whatever the fencing contractor had used to "concrete" in one of the posts wasn't like any concrete I had ever seen. It had set like black glass, leaching into the wood and destroying the bottom of the post. The timber literally turned into dust.
To fix it I had to disassemble the fence, dig out the old post and that "black stuff", and then replace it with a nice new post fixed in with conventional old concrete mix, and then rebuild the fence.
Once that was fixed I finished the deck up to the gate as you can see below.
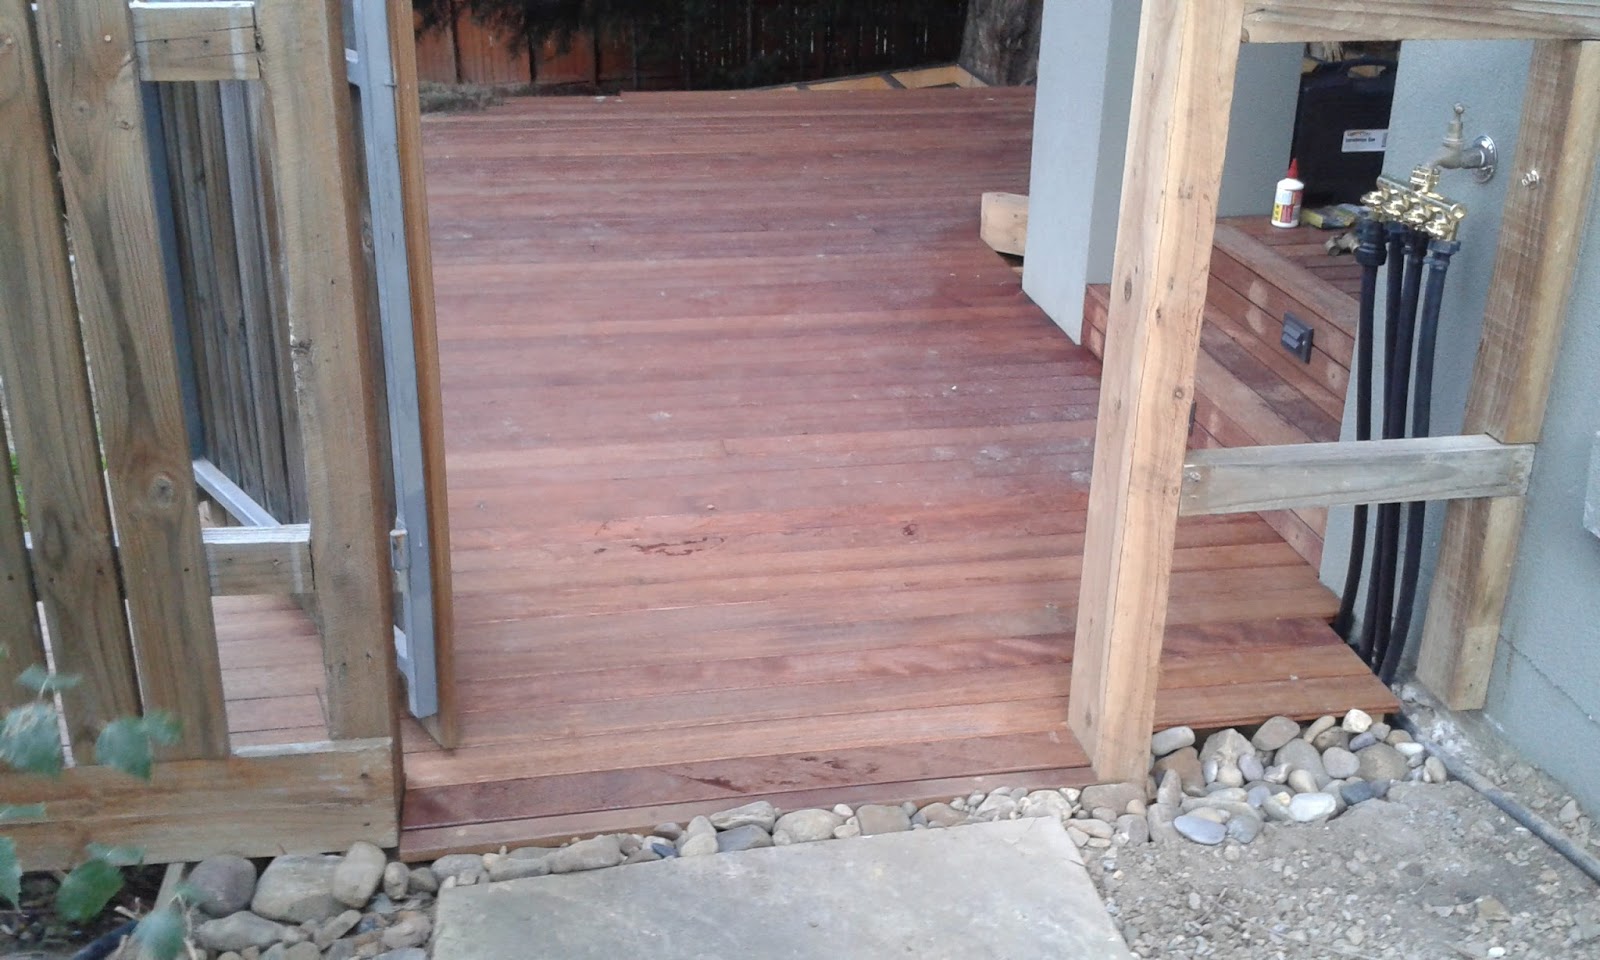 |
| Finished the decking to the gate |
Now that the right hand side was finished I just trimmed off the end of the deck with a straight edge and circular saw, giving a lovely finished look. There was very little excess to cut off as the Deck Master system lets you pick and choose which timbers you use which minimises waste.
Below is the finished right side of the deck.
 |
| Right side of the deck completed and trimmed |
With the right edge finished I continued to lay the boards all the way across until I came to the last board for the top of the deck!
Of course the edge of the last board didn't line up perfectly with the end of the joists! I challenge anyone can be that accurate in their planning. All I did was leave some excess joist hanging out which I then cut flush with the edge of the last board using a reciprocating saw. I then cut some front facing joists that connected in on a 90 degree angle to the top joists which will be used later to fix front facing boards to.
To start the last board I began on the left side of the deck near the steps which introduced their own set of complications!
As you can see below I had to put a slight kink in the board to get around the top step because it juts out about an inch from the deck. Nothing some judiciously and carefully cut mitre joins can't fix!
 |
| Fitting around the top of the stairs |
Below is the crowning glory of fitting the very last board to the top of the deck. Now if you remember, the Deck Master timber comes pre grooved, and because I didn't want the grooved edge showing I had to use a standard 90x20 mm decking board. Using a standard board requires slots to be cut along one side of the board using a biscuit cutter, to match up with the Deck Master claws on the inside board, essentially replicating how the grooved timber works.
To fix the outside of the board I used the Deck-Max screws and plugs as I did with the landing steps.
 |
| Two connection methods! Claws on the inside and plugs outside |
Below shows the last board fixed down! You can also see all the vertical joists that I now have to fix the facing boards onto. This will close up the underneath of the deck.
 |
| The last board done! |
Below shows all the facing boards fitted, the fixing down the last board! You can see I've left a spot for a small access hatch which I'll knock up later, and this is also where I am putting an all-weather electrical outlet so I won't need to run cords across the deck if I need electricity on the far side.
 |
| Fitting the last facing board |
The photo below shows the same but from the other end before I "release the clamps!". It's a big milestone to fit the very last board!
 |
| So close now |
So here it is below with all the top and facing boards completed. You can see the trail I have worn into the ground walking backward and forward along the front of the deck! Nothing a bit of landscaping mulch can't hide I'm sure.
 |
| Front facing boards completed |
So the deck top,side and landing steps are done and it really has come up a treat. Exactly as I hoped all those months ago when this kicked off. I guess I'll have to do something about the neighbour's trampoline now!?
 |
| Top deck completed |
All that is left to do now is to lay the boards onto the steps which lead down to the grassed area, and then the job is pretty much finished. More on that next post. Enjoy.
No comments:
Post a Comment