Happy New Year 2016 everyone!
I've been having a bit of a break enjoying the Australian Christmas summer time out on the back deck (asleep on the lounge some of the time too).
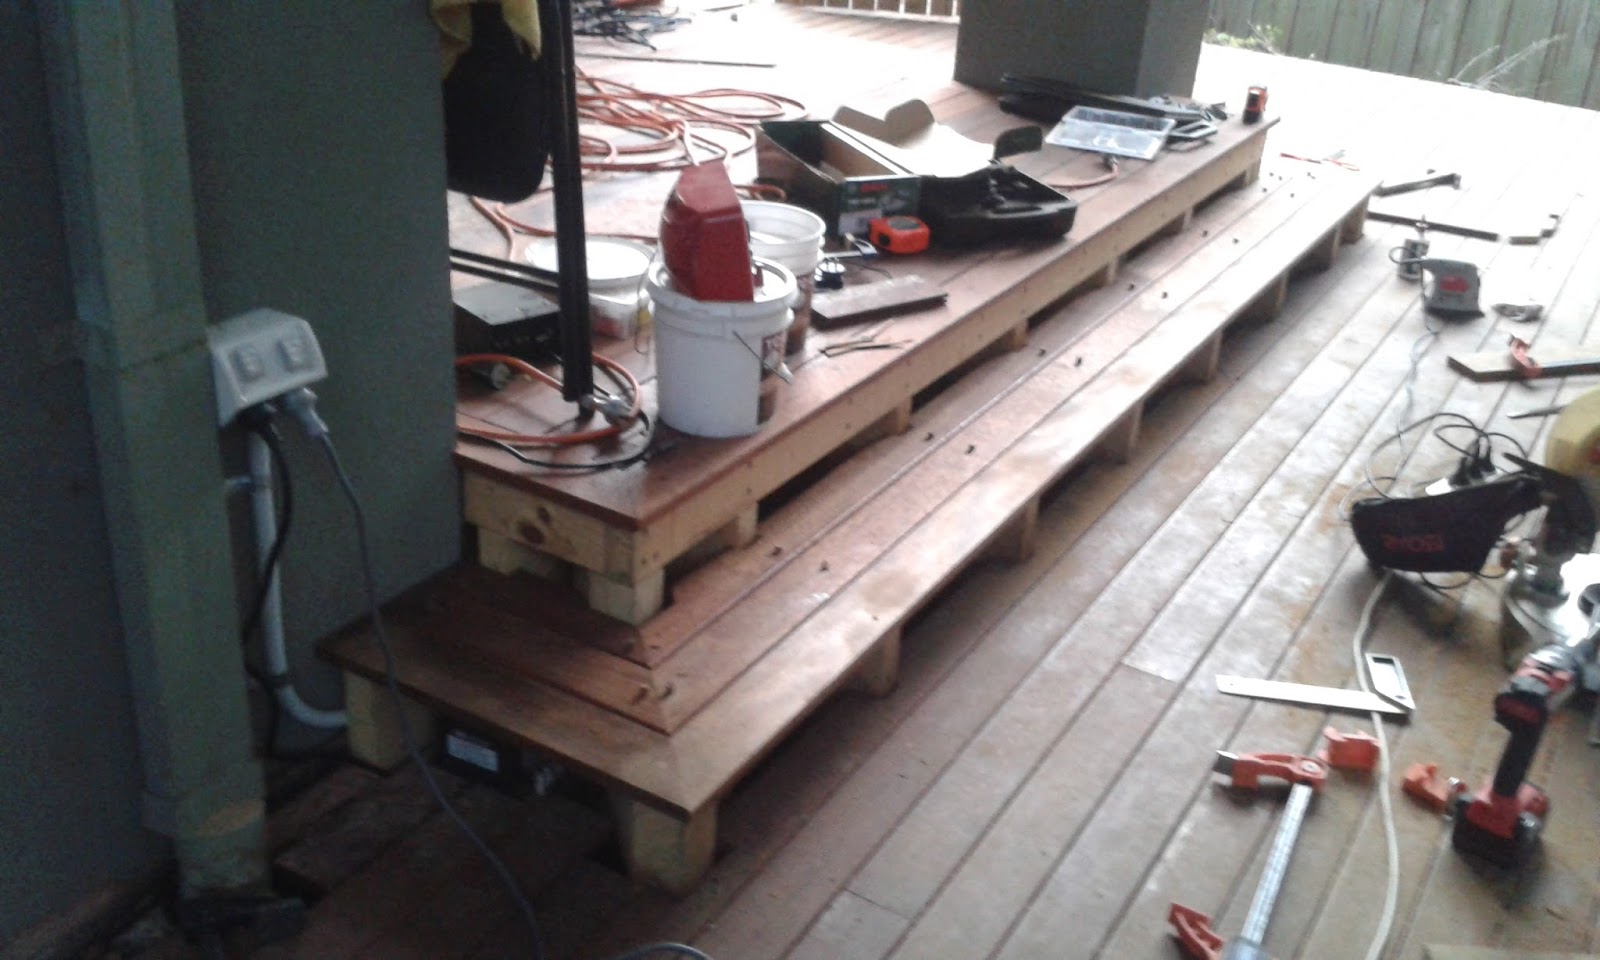
Last post we laid the decking around the curved stonework, so now let's get back into it and look at finishing up of the landing steps by putting the boards down!
I decided to start simple and tackle the side steps first. Below you can see I start by fixing the nose board first, using the riser boards clamped underneath to make sure it all lines up. I then fixed the nose board down using the DeckMax counter-bore tool with screws and wood plugs.
The boards for the risers were a little trickier as I had to:
I've been having a bit of a break enjoying the Australian Christmas summer time out on the back deck (asleep on the lounge some of the time too).
Last post we laid the decking around the curved stonework, so now let's get back into it and look at finishing up of the landing steps by putting the boards down!
I decided to start simple and tackle the side steps first. Below you can see I start by fixing the nose board first, using the riser boards clamped underneath to make sure it all lines up. I then fixed the nose board down using the DeckMax counter-bore tool with screws and wood plugs.
The boards for the risers were a little trickier as I had to:
- rip them down to size, allowing for a 3 mm gap above and below each board. You can see below I used slivers of offcuts to space the boards to 3 mm; and then
- cut a hole in the middle for step lighting I wanted to fit (see the next picture below)
 |
| Fitting the nose board |
The step light shown below is what I want to fit into the riser boards for all the steps. It took me a while to find exactly what I was looking for, and eventually had to import them from Hinkley Lighting in the USA via Amazon, as I couldn't find anything locally that was similar. They have a really comprehensive array of deck lighting available.
They were pretty easy to fit, I just measured up the back of them and marked up the boards with the outline, then cut each board using the jigsaw.
 |
| Hinkley Lighting 1546BZ horizontal deck light (image courtesy of Amazon) |
For the tread boards I had to cut in notches to the final board to fit around the stringers. I just measured them up, transposed them onto the board with a pencil, and then made the required cuts into the board with a jigsaw. Below you can see the bottom step completed with the light fitted in.
 |
| Bottom step completed with step light fitted |
It's then just a case of replicating the process for the next set of boards for the facing riser and fitting it all together. Below is the completed side step with the lights in and turned on!
 |
| Side steps completed with operational stair lights |
Having satisfied myself that it worked, I then moved on to the front step using the same methodology. In this instance though just to complicate things a little, there were mitre joins needed on each corner.
I pre-cut all the boards before hand and clamped everything in place first just to make sure it was all going to fit. You'll notice I still use the Deck-Max "original" biscuits as spacers on the tread boards, as they are really great for getting the gap to exactly 3 mm, and I still have 1/2 a box left over from doing the side deck!
With the mitre joins I measured and cut the boards slightly over sized, and then using the circular saw proceeded to cut the smallest 1 mm or so "nibble" of the end, and tried it for size. If it didn't fit I'd take another mm off, and try again, and then again, until it was an exact fit.
It's real easy to cut the wood shorter slowly, but it's damned hard to try and add it back on if you cut it too short, so take your time!
You can see below I have already fixed the nose board, and have clamped up the next ones for size and spacing.
 |
| Checking the boards for size and spacing |
Below shows the tread boards fitted and fixed. Like with the side step, I had to cut notches into the last board to fit around the stair stringers.
 |
| Step tread boards completed |
As you can see below, it's worth taking the time on those mitre joins to get them spot on. The joins are all under cover, so I didn't have to worry too much about leaving a gap on the mitre. If this join was exposed to the weather you'd want to leave a mm or two gap on the mitre join to allow for any swelling of the wood that could occur.
 |
| Nice and precise joins make it a professional looking job |
Below shows the finished step tread boards from the opposite angle. Once the glue on the wood plugs has dried you just cut them off with a vibrating multi-tool and sand them smooth.
 |
| Once small step for me, and giant leap in step building experience! |
So once the tread boards were laid, as per the side step, I then ripped down the boards to go on the riser (to the same size), measured up, cut the holes for the step lights, and then fixed it all in.
Below is the finished job.
 |
| The finished job |
At last we can now walk out the back door without having to jump over anything!
I could even sit on the back step and have a well deserved cold one.
 |
| Looking good |
Below shows the deck landing with it's final coat of finish applied, and it really looks the goods, and quite professional in my own humble opinion! Well the wife is impressed too, and that's all that matters in the end really! A satisfied customer.
Not a bad job for an IT guy with some patience and power tools.
Not a bad job for an IT guy with some patience and power tools.
 |
| Adding the polish makes it come up a treat |
Below is the step lighting fitted in and operational. I am really pleased with the look, and it was well worth the extra effort and expense to find the right lights.
 |
| The in-step lighting was worth all the trouble of importing the lights |
Next post we are going to finish off the decking boards on the main deck, so until next time, happy new year for 2016 and chat soon.
No comments:
Post a Comment