Sunday 29 March 2015

Deck building resources. There's a world of people out there to help you.

The internet is a wondrous and marvelous place, and it's full of people who can help you build your deck, or paint your house, or renovate your kitchen, or plant a lawn, or whatever! 

Best of all, all the resources below are free!


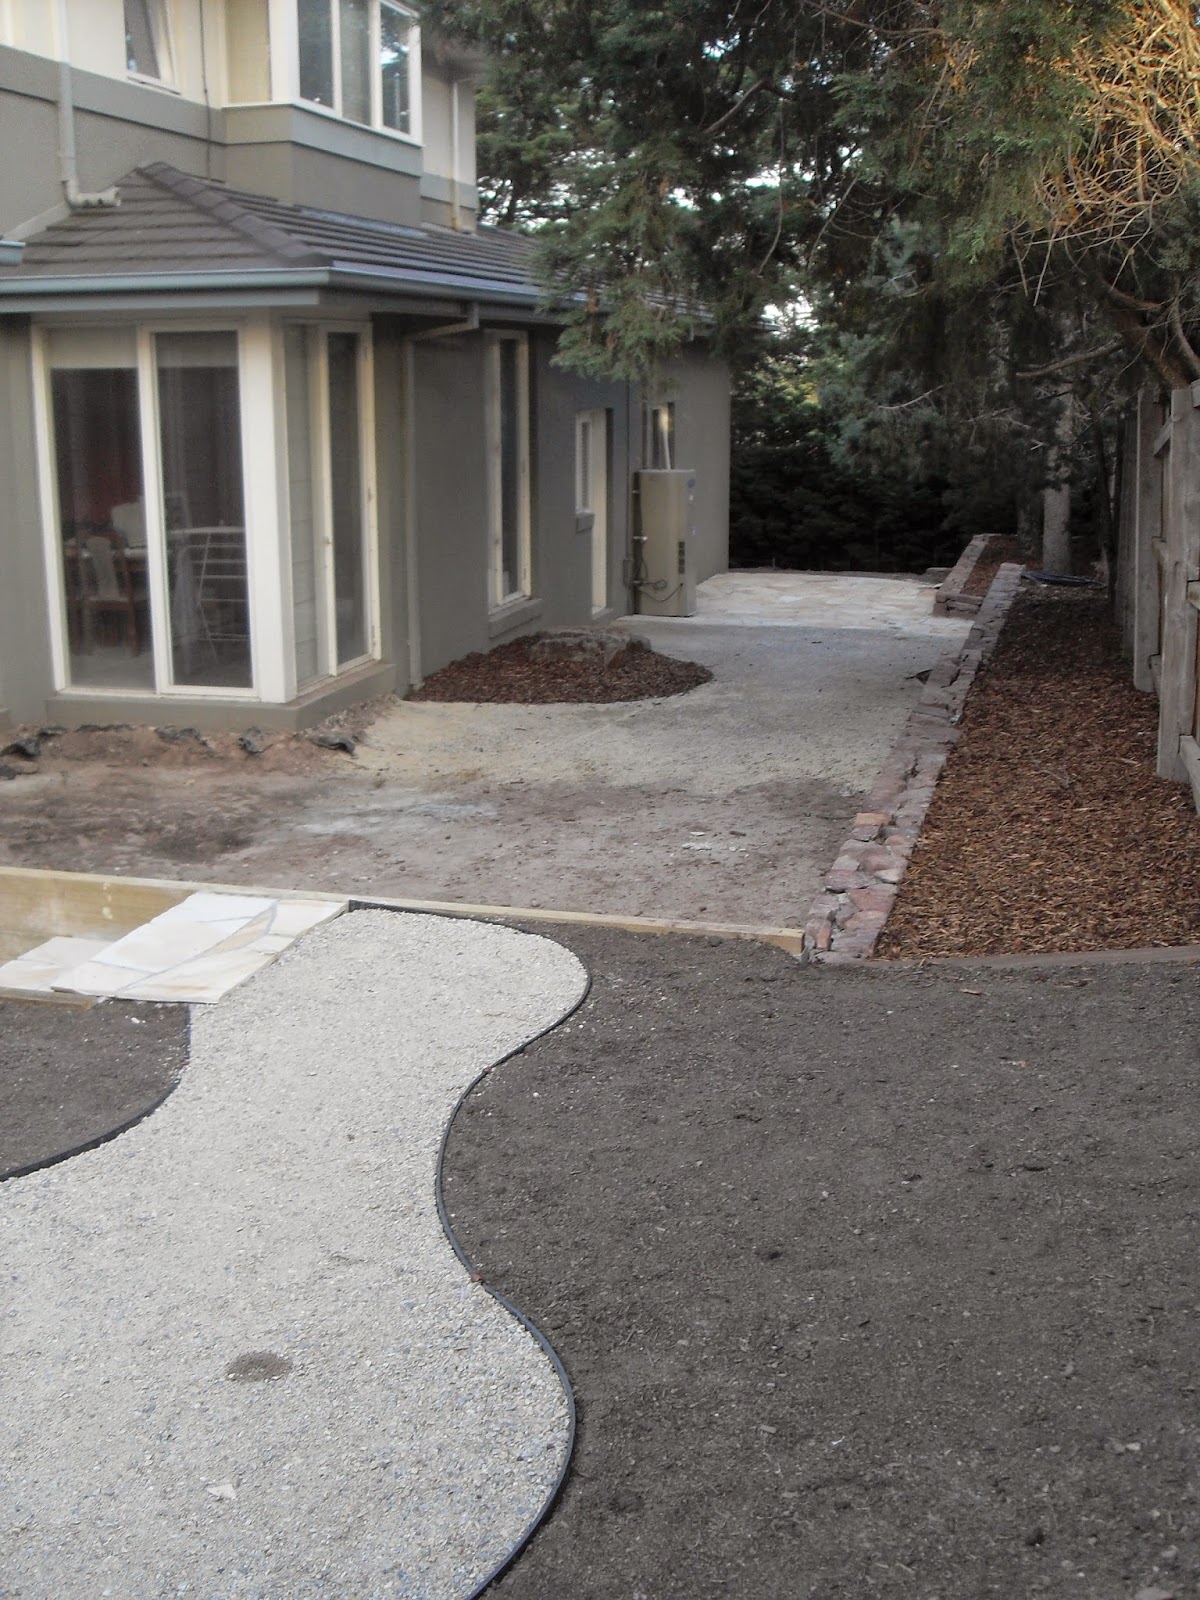
One of the most useful resources I have come across is the Renovate Forum which I have been a member of for a number of years. Within the site is a specific forum on Decking (by far the most popular with over 23,000 posts) which has some really great people ready to help you out whether you're a noob or a pro.

The site is great if you have any questions on just about anything to do with constructing, repairing or caring for decking. You just register and create a new thread topic, and someone will read it and help out. It really is a number one resource (besides this blog of course!). You'll find a few questions there from me too as 'michaelcb'.

The Renovate Forum

The Decking forum has some "sticky" post threads which are particularly useful:
  • Deck Span Tables - How far can I stretch my timber? These resources will tell you the distances you can have between posts, bearers, joists and cantilevers for specific types of timbers and configurations. Invaluable stuff!
  • Deck Calculator - This helps you figure out the quantities of timber needed for your deck as well as a pile of other tools
The Blocklayer Deck Calculator

  • Kopper's No Nail Deck - This post is what inspired me to give "no nail" decking a go (more of that to come in future posts). It's a great step by step guide with lots of pictures on how Kopper did it. He's also a really helpful guy and always willing to answer questions and offer advice, and like me he's a weekend warrior who does this stuff just for kicks.

One of the trickiest things I ever had to tackle was building stairs, and the stair calculator page from the Russian based 'construction calculator' site made it easy. I found the tools super straight forward to use (some sites are very, very complex) when I needed to calculate building stair stringers (another post for the future!).

The Stair Calculator

The site also has a great range of other tools for calculating volumes, angles, materials and all sorts of things to do with construction.


While we're talking about stairs, there's a great site from stair construction company Oz Stair, that lays out the Building Code of Australia regulations for stair construction. It deals with tread depth, riser height, railing requirements, banisters etc. Very valuable to have so you can pass your council inspections!

BCA Regulations on the OZ Stair site


We already talked above about the Blocklayer Deck Calculator which you can access via the Renovate Forum, but I should also mention that the Blocker site has lots of other really great tools available that cover all kinds of weird and wonderful calculators in both metric and imperial for things such as stairs (although a bit more complex to use than the Russian one above), gazebos, dovetail joins, tank volumes, pitches and even a belt to pulley RPM calculator!

Blocklayer.com has a tool for just about everything


By far the most valuable resource to help you is this one. Google. Use it and use it often. Just bang in a question like "how to attach bearers to posts" and you will instantly find content rich piles of resources to help you. "how to do a half lap joint", "how to attach joists" and even "how to build a deck"! You'll get blogs, videos, pictures, whatever you need.

Don't overlook Google. It's your best friend!

I've created a side page on this blog with all these details summarised for reference plus anything else I find along the way.

If there's anything else you think is worthy to include please feel free to comment below!

Wednesday 25 March 2015

Let's build the side deck step 1. Dig some holes.

It all starts with a plan, and below is the original detailed sketch I created for the side deck (see my earlier post on landscape design software). I had grand designs for an upright water feature with interconnected reflecting ponds. It would have looked beautiful with the dark pools within the deck! However in the grand scheme of things I decided against it and put them in the too hard basket! The plan for the joists was driving me mad and the low clearance would have meant a lot of excavation and piping to plumb it all together.

The grand vision for the side deck
I'm not going to throw it all out completely though. I'll keep the idea of the two garden boxes set into the deck in front of the windows and also the large upright water feature at the top opposite the double glass doors as it will give a nice focal point. The south and west sides the deck will be surrounded by garden beds between the rock wall and retaining wall, level with the deck to make it "sit into" the landscape rather than "sit on" it as most decks do.

Looking at the plan below you can see the final shape of the deck resembles a slightly lopsided T.

There are 24 posts required on roughly 1.2m centres which will support 8 bearers. The posts are 100x100 F7 wet treated pine, and the bearers are dual 90x45 MGP10 treated pine, cantilevered off at the end of the posts. The cantilevered ends are because I can't get in that close to the edge of the house or the stone wall with a post-hole digger, and I'm not in favour of running a ledger board along the wall due of all the windows involved. The only exception is the short ledger which I will attach to the concrete pad in front of the door to the garage. All the joists are single 90x45 MGP 10 treated pine on 450mm centres. The decking will be 90x19 merbau.


Side deck frame plan
For digging holes the holes for the footings I had a couple of choices being that I could hire a post hole digger, or I could actually buy a post hole digger. Looking at the number of holes I had to dig I chose to buy one. They sell them pretty cheap in Australia at Bunning's for around $360. Hiring one over the three days was going to set me back around $400 as well as having trouble getting it into the backyard as it's a cantilevered digger, so in my mind I was coming out ahead as I got to keep it afterwards. The only drawback was that the auger bit only had a diameter of 200mm, and really I needed 300mm, so I was going to have to add a bit of muscle to the holes afterwards.
16 holes done. Only 8 more to go. Time for a beer.
Notice above the yellow tool leaning on the retaining wall? A damn jackhammer! Why did I need a damn jackhammer? ROCK! Not the rock and roll kind of AC/DC rock I like, but the kind of damn rock that you hit when digging damn holes. All that white powder is pulverised sandstone.

If you haven't guessed, I didn't have a damned fun time putting down the footings! Here's a bit of a hole-ology (a new word I made up).

Concrete!
  • Hole #1. The first hole in the corner I dug I hit concrete. The house is built on a concrete slab, and let's just say that the guys who filled the formwork with concrete were none too neat when they poured the slab, leaving a substantial overpour. I had to chip through with the crowbar by hand.
  • Hole #2. I had a bit of room so I started the posthole digger. It went down about 10cm and then sat there spinning and spinning. Getting down on my hand and knees I discovered the sandstone. Not just a small bit either, this was literally a boulder about 2m long by 1m wide and an unknown depth, sitting right where I needed to dig the hole. So I headed off to my local Kennards and picked up the biggest M F jackhammer they had and started in on the boulder. What a pain in the A! Sandstone is relatively soft, so the pick would dig right down and get stuck. So I had to drag the jackhammer up, move a little left, and start again, drag up, move, repeat. Eventually hole #2 was done. Phew! While I had the jackhammer I went back and cleaned up Hole #1 from my manual work with the pick. Much easier!
  • Hole #3. When Stefan created the area I asked him to put in ag pipe for drainage and to plumb it into the stormwater. Of course I hit it with the posthole digger and it got tangled up in the auger. Suffice to it ended up being a bit of a mess and the hole substantially wider than it originally needed to be!
  • The rest. Thankfully The rest went relatively smoothly with only the odd tree root and small rock for the digger to hit and attempt to rip my arms off. A very rough start!
I had put aside two weeks to put down the footings and at least get the bearers down. The timber turned up for the posts and bearers, and I was still digging holes.
Delivery day, usually exciting!
Once the holes were down I mixed all the concrete by hand in a wheelbarrow with a spade, made from pre-mix bags. Roughly 2 bags per hole. 50 bags of concrete, and two weeks later, I had all the posts in at last.

This was going to take longer than I planned! Doesn't everything?

Sunday 22 March 2015

Instant turf! How to grow a lawn in one morning.

Now that the weather had warmed somewhat, it was time to put some grass down in the bottom yard that Stefan had prepared earlier. The quickest way to getting a lush green lawn is of course instant turf. The variety is important so after a bit of research (yes Google again) I chose Palmetto Soft Leaf Buffalo as it was supposed to thrive in shaded areas requiring only 2 to 4 hours of direct sunlight and is drought resistant. With that giant tree in the yard it was going to need to be VERY shade tolerant!

The turf 
from Advance Turf in Melbourne arrived on time early on Saturday morning as arranged and I'd laid out a tarpaulin on the driveway to keep it clean. The truck arrives complete with its own forklift so they can drop it wherever you want it.


It was all hands on deck to get the turf down as quickly as possible, so I rounded up some friends to help on the promise of a free barbecue lunch. The first piece is always the most significant and my friends son Ben wanted to lay claim to it! What a star (and a show-off!).

First one done!
It's a pretty easy job to lay the lawn, although it's back-breaking moving the turf around! The rolls weigh in at a fairly hefty 20 kg each. Dirt isn't light! We used the wheelbarrow to ferry them from the front yard to the back, then you essentially just place them on the ground end on end. Use a good set of garden shears and/or a sharp knife to cut the turf where required. When you start the next row, make sure you stagger the joins in a brickwork pattern. 
Below is Richard and I hard at work. Who says you can't cut your friends grass?
Ta da!
Once the grass is down it's time to top dress the turf with top soil washed river sand (1 cubic metre per 100 square metres of turf). You apply a thick layer of the sand on top of the joins, narrow strips, or any low areas, as well as a thin layer to the rest of the turf. Top dressing the turf is supposed to hold additional moisture, reducing the turf from being "shocked" after harvesting, and it helps retain water where it's needed. The sand is supplied with the turf rolls.

Oh my aching back!

Job done on the bottom lawn. It now needs to be watered twice a day for three to four weeks. I'd already laid in a pop-up system with two sprinkler heads prior to putting down the turf.

Job done and water on
Looks pretty good and getting plenty of sunlight already. Fingers crossed.

Turn on the sun
We also laid the turf around the utility area, but unfortunately came up two and half meters short! So much for careful planning. I had to drive over to the turf supplier the following weekend and buy more direct from them, throwing three rolls into the boot of the car which was enough to finish the job off.

Came up a little short!

Thursday 19 March 2015

There's a hole in the fence! Let's fix it.

After the removal of the tree there was a hole left in the fence that needed some repair. The tree actually sat right on the fence line with the fence meeting on either side of it, so once it was removed there was a substantial gap left. Now that the side yard has been fixed up it's a good opportunity for the fence repairs to take place to complete the job.

The south side fence is (in fact all the fences on the block pretty much are) a standard Australian style treated pine paling fence. A paling fence is made up of posts, plinths, rails, palings and a capping. Seriously, who comes up with these names? I really hope you don't have a lisp if you're considering a future as a fencing contractor!!

  • PostsThe existing posts are all good as they're 125mm x 75mm Cypress Pine, and aren't that old (but were very poorly installed, but that's another story!). 
  • Plinth: the plinth is 150mm x 25mm treated pine to run across the bottom and match up with the rest of the fence
  • Rails: the rails are 75mm x 50mm treated pine for the top, bottom and middle
  • Palings: the palings are alternating 150mm treated pine under palings (the bottom layer) and 100mm overs (the top layer). 
  • Capping: the fence is topped off by 90x45mm treated pine single lipped fence capping to match the existing fence capping
Time to recruit the junior helper again! We started by ripping out all the old timber and then adding in the rails and plinth.

Some expert hammering
It's a reasonably straight forward job, although that doesn't look like he's in a very comfortable position to hammer! Make sure you use galvanised nails (unlike the cheap sub-contractor who constructed the fence in the first instance).


Once the rails are were up it was pretty simple to then bang in the palings, setting the 150mm first, then the 100mm over the gaps between. When it's done just run a circular or reciprocating saw across the top rail to level the tops of the palings. Drop the capping on top, double skewing every 450mm with round flat head 75mm long galvanised nails. Job done!

Oh, and don't forget to throw a ladder over with you before you start nailing the palings on, so you can get back over the fence!


Much prettier than the old blue tarp!


Side yard fence is now 100% whole again!

Tuesday 17 March 2015

Everyone needs a place to hide stuff! Enter the garden "utility" area.

We all have stuff we need to hide in the garden right? Stuff we need for the house to function, but don't want everyone to see. Private stuff. A place where you can hang things, grow special plants (if that's your interest) and experiment without attracting unwanted attention.

Of course I am talking about clotheslines and veggie patches! What were you thinking?

In the great plan for the yard I need to allow for a utility area, which covers items 7, 8, 9 and 10 from the list to be completed. This area will contain a rotary clothes line, rainwater storage tank, and possibly a vegetable garden down the track. I wanted it to be out of the line of sight from the garden proper so our undies aren't waving over the top of everyone enjoying the yard, but still be in full sun to maximise drying (and reduce the noxious greenhouse gases created when we use the electric clothes dryer!).

The utility area will be located at the top south western corner of the block tucked up behind the garage. It's to be built up approx a metre above the rest of the garden, behind a retaining wall that's level with the top of the stone wall. It will be accessed via three crazy paved steps leading up from the garage door and side deck, keeping the "crazy" theme going, and also have a packed stone circle and path into which the clothesline will go.

As you can see from the picture below, Stefan has raised the required walls up using the Retain-iT retaining wall system. Channeled steel posts are concreted into the ground, and the treated pine sleepers are then slotted in to channels to create the wall. It's a very easy and effective system for building retaining walls. 

The area to the right will be where a rainwater tank will be located. The plumbing that can be seen is for the overflow connecting into the stormwater system.


In the picture below the posts are in and the formwork for the steps started.


The steps have now been laid. There's a landing pad still to go in at the bottom, linking the steps in with the back door of the garage, then it all gets crazy paved.


In this shot the concreting for the steps has been completed and the crazy paving started, as well as starting to form up the circle and path for the clothesline area. 

Once the coside deck has been completed there will be a high screen built up against the front of this retaining wall to screen off the whole utility area.


The view below shows the paving going down onto the steps and the the gravelled area and path for the clothesline. Consistent with the bottom path it's made of compacted Lilydale Toppings within heavy duty plastic garden edging, held down with steel spikes.

The area at the bottom where you can see the wheelbarrow is where the side deck will be located.


Below shows the completed utility area with the paving and path completed, soil loaded, and all ready for the turf to go down.


This now completes the side yard landscaping, and in fact completes the entire job that Stefan was responsible for. The photo below shows the completed area looking east towards the backyard.

It looks brilliant and compared to how it looked before this was started is nothing short of amazing!

The completed side yard

Sunday 15 March 2015

Using landscape design software for your backyard. An opinion.

I thought I'd take the time to talk about the large and ever increasing area of landscaping design software that you can utilise for home gardening. Having spent all of my years working in IT (and the back garden!) I jumped at the chance to be a geek and have the ability to draw and design the yard on the computer! The results shown by the software companies are certainly spectacular.

Home Designer Suite from Chief Architect
It should make it a piece of cake right? 
Like falling off a log?
A walk in the park? 
Easy-peasy?
(Not likely)

Admittedly it's been a while since I did the initial design and it's also been a while since I looked at landscape software, so my opinions are based on what was available a number of years back now. Back then I went through extensive research into what was available (also known as Googling 'landscape design software') and came up with a short-list of products to try. Doing the same today comes up with pretty much the same list as was available then, so the market obviously hasn't changed that much, but there are a number of new ones available now such as Realtime Landscaping Plus which I have never tried.

Landscape software is supposed to allow you to map out your backyard and / or house and plant virtual plants, build virtual walls, decks, pools and paths, and see what it will all look like as the seasons and years roll by, without having to touch a shovel! Sounds like a great concept!

I tried out a couple of different offerings and online tools, as most have free trial downloads available, before specifically narrowing it down to two; Home and Landscape Design by Punch Software, and Home Designer Suite from Chief Architect, which were then the highest rated.

Courtesy Punch website
Courtesy Chief Architect website
They all do pretty much the same thing, allowing you to specify the block, terraform it, design and place the house, then add things around like paving, decking, plants etc. The Home Designer Suite I found really was focussed around the house and designing or styling the house and interior, and just happens to also have landscaping tools for deck building and terrain. The Home and Landscape Design by Punch was more focussed on landscaping, but like HDS it also has tools for home and interior. 

After the trials, I ended up purchasing the Punch software as I felt they were better suited to landscaping, and they had a special on at the time where if you purchased Home and Landscape Design off the shelf at the time, it came bundled with the Deck and Patio Designer; and HDS was comparatively pretty expensive.

Now if you're going to use the product properly (or any of these products) the first step is going to be figuring out your block and the gradient or slope, so contour lines can be put in to give you a 3D representation of what you are dealing with. If you have never had your block surveyed that in itself is going to be a challenge. I have read various posts from people who have run around with a string and a level to figure it out. Luckily for me my house plans came with contour lines already marked on the block so it was a case of transposing those into the software. Then commenced the great self education process of learning the package. I mucked about for a number of weeks drawing up the block, the house, placing them together etc. and exploring the app and its capabilities.

Some of the conclusions I reached are:
  • This stuff is not easy. "Easy to use" is easy to say, and it doesn't always translate that way. I personally found it quite difficult, and as I said I have been working in IT for a long time and would consider myself an "expert" user when it comes to PC's and software. This is tricky stuff using custom interfaces where things aren't that intuitive and are buried under levels of sub-menus. Although a 2D plan is pretty straightforward, 3D modelling is a challenge getting all the objects lined up
  • The interior modelling is a lot easier than the exterior landscaping, probably because you are dealing with right angles and furniture rather than hills, grass and plants!
  • If you're 100% "geek", then dive right in and learn it inside and out. I must be a noob!
  • If you're intending on running a landscape design business this will be "a cracker" for you, a formidable tool in your tool belt to help realise a customer's vision. It's worth investing the time to learn the product and "wow" your customers.
  • Finally in my opinion, if you are just doing this for your own backyard there are easier ways. Keep your money in your pocket. 
What did I do? I went back to "old school". I traced the house plan onto a piece of paper just showing the house walls, doors, windows, as well as the borders surrounding the block and any existing landscape I was going to retain. I then photocopied this a number of times to act as the "base plan" that I could build upon. Then I picked up a ruler, my sons coloured Derwent pencils, an eraser, a compass, and got down to business. Having multiple copies of the blank base plan allowed me to change and refine the plan in multiple iterations until I came up with something that worked.

This is where the master plan below came from, and I can tell you it was a hell of a lot quicker and easier than any piece of software and it was still all to scale.

Nothing beats the old pencil and paper!
When it later came time to doing the detailed design for the decking and other complex components, I used the simple and reliable Microsoft Visio which luckily for me came installed on my laptop as part of the Microsoft Office Suite when I purchased it. It has some great functions for adding walls, doors, windows etc as well as landscape items for pathways, paving and plants! There is also a stack of templates and examples available on-line that people have developed just for the purpose of landscaping with Visio. Google "Visio landscape design" and have a look around.

Microsoft Visio does a great job of 2D planning
I also found out later on that the Visio diagrams can be input into AutoCAD if you need to engage with an architect or professional designer later down the track. Bonus.

So in conclusion I'd say that these software tools have a niche that they fill, you just need to figure out of you are part of that niche and have the time and money to invest. Don't be fooled by the flashy beautiful photos of peoples yard designs like the one below! It aint that easy!

An admittedly beautiful yard layout courtesy of Punch Home and Landscape Design
I'd love you hear your views on the subject and if you've tried any of the newer offerings.

Follow my blog with Bloglovin

Friday 13 March 2015

Paving the way with crazy paving. Like totally cray cray!

Now that the wall has been completed and we have a lovely flat surface to build on, it's time to lay down the next item in the grand plan, the paving at the side of the house. The paving will once again be sandstone laid in a crazy pattern as per the circular paved area at the bottom of the garden, keeping the continuity across the garden.


There's a couple of sections in the side area to be built; the paved area has a curved edge at the bottom that will eventually join up with the back deck, and a curved edge at the top that connects to a gravel path. The path then meanders up to join where the side deck will be; and at either side of the path will be a smaller garden bed on the left against the stone wall, and a larger one on the right which my study looks out on. In the picture below you can see that the jigsaw pieces are waiting to be laid. Is it just me or does this project seem to be a giant puzzle?

In the photo below you can see the paving coming together nicely, as well as the new garden bed being established on the right. The really tricky bit is going to come down the track when I have to get the decking to line up perfectly with the edge of the paving. 
The orange brickies string marker you can see on the wall (in both above and below pictures) shows the anticipated height of the deck at the back door of the house, and then there is two steps down from there onto the deck proper. I measured the height of the two steps down and then made a mark on the wall where I thought the deck level should be, and then ran a stringline up the side of the house for Stefan to follow. To be safe and assist in things lining up, he also didn't complete the bottom of the paving around the curve. That will be finished after the decking goes down just to be sure that everything lines up nicely! (I hope!)
Below is the completed paved area, as well as the gravel path and the garden beds.
Below is the same picture from a different angle looking down towards the bottom of the yard. The gravel path consists of compacted Lilydale Toppings (crushed limestone of varying grades, for those who don't live in Melbourne!). The edging is 2 inch Red Gum. I must think of something to cover up the hot water service. Any suggestions are more than welcome!
Next stop in the build is the retaining wall, steps, and upper clothesline area at the top of the yard.
Follow my blog with Bloglovin

Wednesday 11 March 2015

Building a wall between us

A long overdue conversation:

Me: - "Hey Stefan! Guess what? The tree is finally gone!"
Stefan: - "Serious? That took a while"
Me: - "Yep, but it's all clear now. Can we keep going?"
Stefan: - "Sure! I can start in two weeks. The wall?"
Me: - "Awesome! Yes, the wall."
Stefan: - "I'd better buy some stone. A LOT of stone!"

Looking back to the original plan it was time to start item 4, the stone wall. This stacked mudstone wall will run most of the length of the southern side of the block and splits it into two levels. The upper level retains in all the large trees and the fence, creating a lower leveled and paved area, level with the house. The wall is split into three sections, such that the top of the wall is always level.

Stefan took no time in getting the Dingo out and tearing up the side yard to start creating the two levels.


After the preparation work was completed, Stefan then dug a trench along the length of the wall, and then using a vibrating plate, compacted stone down into it to form the foundation of the wall. The green string in the picture below is set to the height of the first section of wall.


Once the groundwork was laid, it really becomes one giant three dimensional jigsaw puzzle. Stefan brought in two truckloads of mudstone and began assembling, fixing the stones in place with concrete.


Thirsty work on a hot day! But the results are outstanding. They start off with basic big blocks then cut and grind down others to fit in the wall. The mudstone is pretty soft so it isn't too hard to shape.


In the picture below you can see the three levels of the wall more clearly. There's also a kink in the wall at the bottom to accommodate the three large trees within.


The finished wall below shows the bottom where it connects back in with the side fence. The decking when it's completed will come up about 1/2 way on the front facing side of the wall.


With the wall completed, all the remaining leftover stone was used to build a retaining wall along the fence to keep the dirt off it, as well as creating protective rings around the bases of the large trees. The whole thing was then filled with soil and mulched. 

Below is a picture that I took in 2008 in Kyoto Japan at Nijō Castle. I loved the heavy stone wall embattlements with the trees seemingly growing out of the top of them, the sharp edges shaped long ago out of enormous chunks of stone.


Obviously I can't build Samurai castle embattlements in my backyard, but I think the end result achieved is a fair approximation, don't you?


Job done and another box ticked!

Follow my blog with Bloglovin

Tuesday 10 March 2015

TIMBERRRRRR!

Once all the council red tape was done and dusted, at last I could get the dead tree removed, so the garden build could progress. It's a tricky tree to remove as it really is four trees in one, with four large main trunks that meet in the middle to form a "mega tree". It straddles the southern border of the property with the fence line actually going through the middle of the tree!

I engaged Taylor's Tree Removal in Melbourne to take out the tree and grind the stump down, as well as take out a couple of other trees (designated as "unprotected" by the local council of course!) nearer the circular paved area. From memory it was around $1,200 for the three trees to be removed, which was pretty good value and they have a very good reputation.

On removal day the team arrived on time and set up to scale the tree armed with chainsaws. (Notice in the picture below that the weeds have taken hold again whilst waiting for the council approval!)


Watching these guys shimmy up the tree (in the rain mind you) was an amazing sight. They set up their truck on the opposite side of the fence where they had a giant nuclear powered mulcher (well it sounded like it was nuclear powered!) on the back of the truck, and everything went down the gullet of the hungry beast to be quickly turned into wood chips! It didn't seem to matter how big the logs were, they were swallowed up and spat out the other side.

Up Up and Away!

Finally all the branches disappeared and all that was left was the stump below, which this guy made quick work of with a giant chainsaw. The whole thing was over and done with in about 1/2 an hour. They came back the next day and ground down the stump to nothing but wood chips.In fact so many wood chips came from just the stump, it allowed me to mulch the entire front yard with it! That was one BIG tree!

More Power! Grrrr!
After months of waiting it was all cleared out and gone! I ran some wire and threw a tarpaulin over the gap in the fence left by the departure of the dead tree, until I get a chance to fix it up properly later.


Now that the tree was finally and really, truly, removed; the project could at last move on!
Follow my blog with Bloglovin