We all have stuff we need to hide in the garden right? Stuff we need for the house to function, but don't want everyone to see. Private stuff. A place where you can hang things, grow special plants (if that's your interest) and experiment without attracting unwanted attention.
Of course I am talking about clotheslines and veggie patches! What were you thinking?

In the great plan for the yard I need to allow for a utility area, which covers items 7, 8, 9 and 10 from the list to be completed. This area will contain a rotary clothes line, rainwater storage tank, and possibly a vegetable garden down the track. I wanted it to be out of the line of sight from the garden proper so our undies aren't waving over the top of everyone enjoying the yard, but still be in full sun to maximise drying (and reduce the noxious greenhouse gases created when we use the electric clothes dryer!).


The view below shows the paving going down onto the steps and the the gravelled area and path for the clothesline. Consistent with the bottom path it's made of compacted Lilydale Toppings within heavy duty plastic garden edging, held down with steel spikes.
The area at the bottom where you can see the wheelbarrow is where the side deck will be located.

Below shows the completed utility area with the paving and path completed, soil loaded, and all ready for the turf to go down.

This now completes the side yard landscaping, and in fact completes the entire job that Stefan was responsible for. The photo below shows the completed area looking east towards the backyard.
It looks brilliant and compared to how it looked before this was started is nothing short of amazing!
Of course I am talking about clotheslines and veggie patches! What were you thinking?
In the great plan for the yard I need to allow for a utility area, which covers items 7, 8, 9 and 10 from the list to be completed. This area will contain a rotary clothes line, rainwater storage tank, and possibly a vegetable garden down the track. I wanted it to be out of the line of sight from the garden proper so our undies aren't waving over the top of everyone enjoying the yard, but still be in full sun to maximise drying (and reduce the noxious greenhouse gases created when we use the electric clothes dryer!).
The utility area will be located at the top south western corner of the block tucked up behind the garage. It's to be built up approx a metre above the rest of the garden, behind a retaining wall that's level with the top of the stone wall. It will be accessed via three crazy paved steps leading up from the garage door and side deck, keeping the "crazy" theme going, and also have a packed stone circle and path into which the clothesline will go.
As you can see from the picture below, Stefan has raised the required walls up using the Retain-iT retaining wall system. Channeled steel posts are concreted into the ground, and the treated pine sleepers are then slotted in to channels to create the wall. It's a very easy and effective system for building retaining walls.
The area to the right will be where a rainwater tank will be located. The plumbing that can be seen is for the overflow connecting into the stormwater system.
In the picture below the posts are in and the formwork for the steps started.
The steps have now been laid. There's a landing pad still to go in at the bottom, linking the steps in with the back door of the garage, then it all gets crazy paved.
In this shot the concreting for the steps has been completed and the crazy paving started, as well as starting to form up the circle and path for the clothesline area.
Once the coside deck has been completed there will be a high screen built up against the front of this retaining wall to screen off the whole utility area.
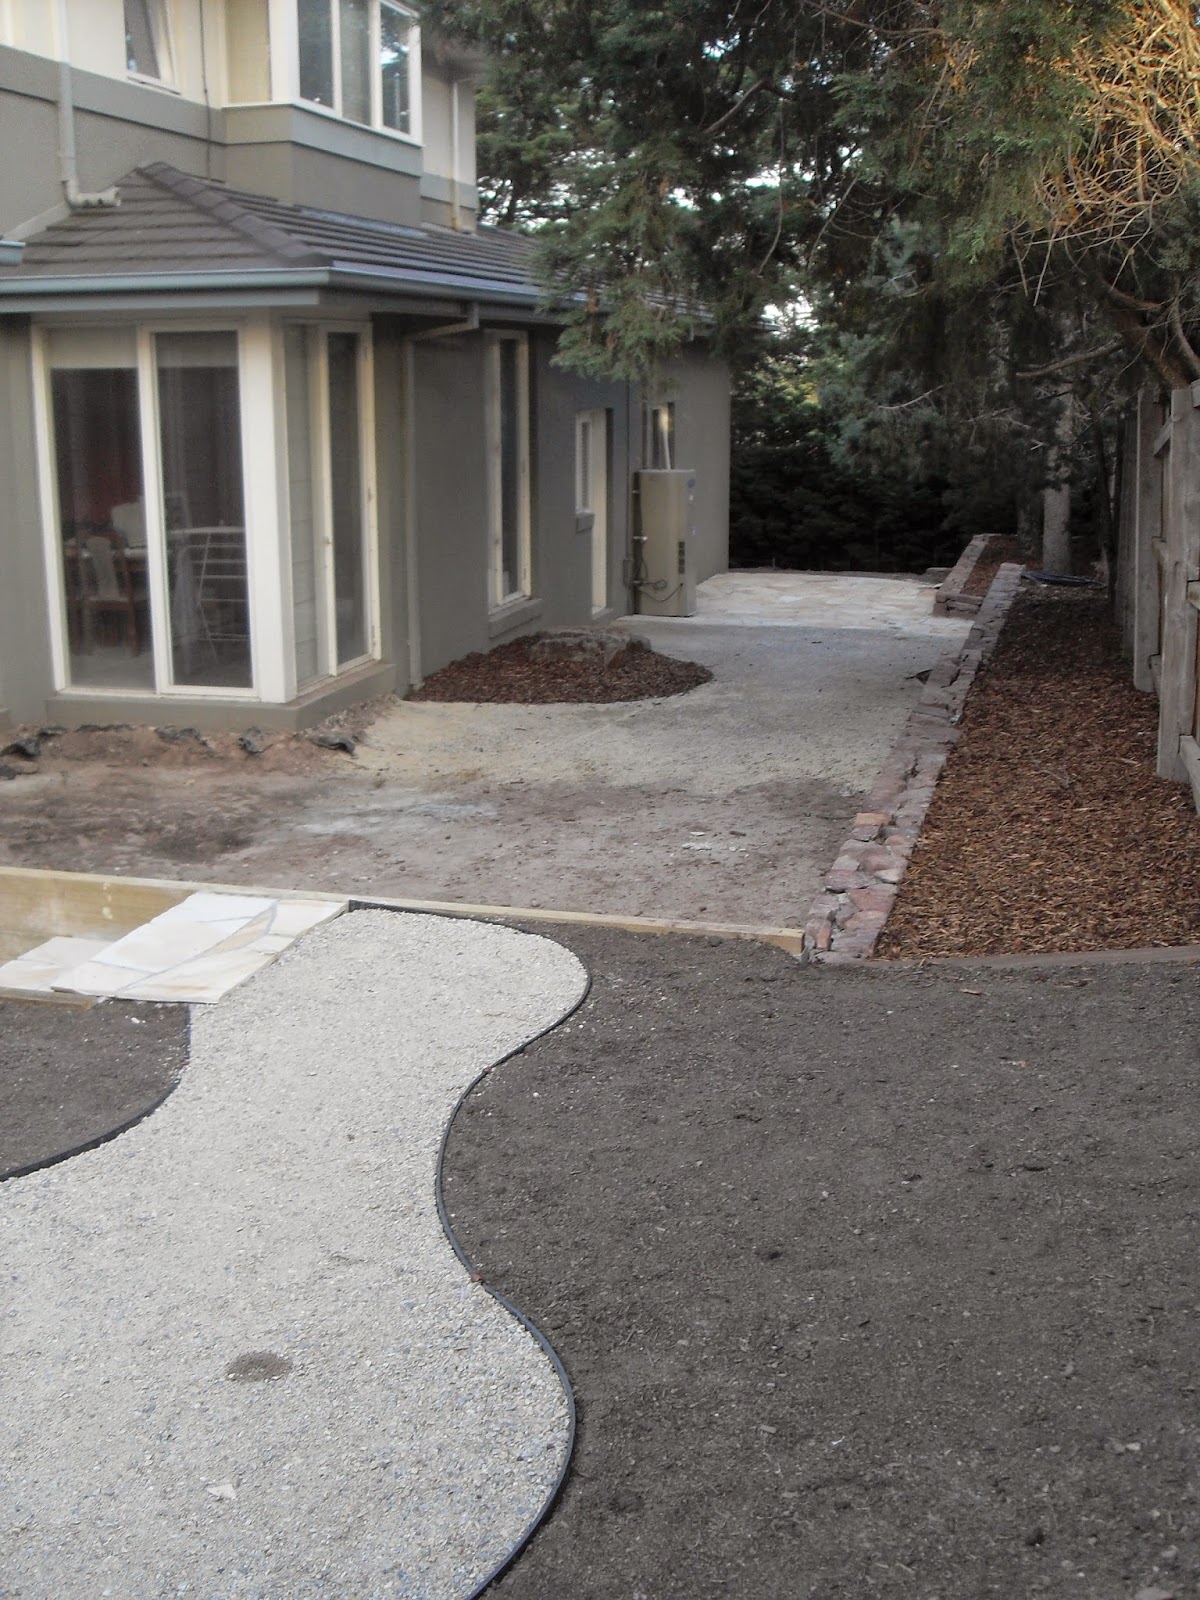
The view below shows the paving going down onto the steps and the the gravelled area and path for the clothesline. Consistent with the bottom path it's made of compacted Lilydale Toppings within heavy duty plastic garden edging, held down with steel spikes.
The area at the bottom where you can see the wheelbarrow is where the side deck will be located.
Below shows the completed utility area with the paving and path completed, soil loaded, and all ready for the turf to go down.
This now completes the side yard landscaping, and in fact completes the entire job that Stefan was responsible for. The photo below shows the completed area looking east towards the backyard.
It looks brilliant and compared to how it looked before this was started is nothing short of amazing!
 |
| The completed side yard |
No comments:
Post a Comment